
The back is repaired
I missed seeing how Kevin removed the back off the cuatro. There were questions about how he did this when I posted these photos and videos on the Facebook Group “UAS Anonymous” last year. There is a video later in this series in which Kevin explains how he did this, the tools that he uses and what to watch out for if you are doing this at home!
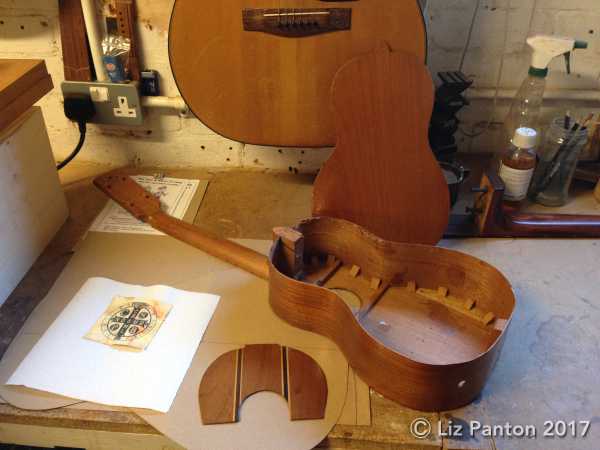
Back, tap plate and label removed
The crack in the back being repaired
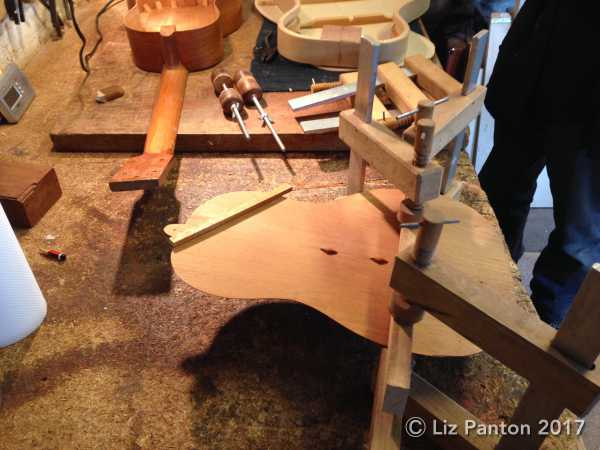
The crack has been glued. Then the back has been clamped with wedges while the glue sets. (There will be videos all about glue later! Be patient!)


Video 01: Unclamping the repaired back
Video 01 Transcript
KEVIN: The crack runs between those bits of tape. And these two bits of wood are locking down.
And that wedge is shoving that half into there and these two are just to keep it flat.
LIZ: How long will it take?
KEVIN: It’s done, I’ll do it now.
I’ll pull that wedge out, undo these, and there’s the crack in between . . .
And what I’ve got to do now is, I’ve got to reinforce that with some little diamonds (made of wood!)
It’s got to be reinforced . . . and then I’ll put bars across.
You can photograph what I am doing with it next time.
LIZ: Okie doke! You’ll have the little diamonds stuck on it then?
KEVIN: Yeah.
The repair is reinforced by “diamonds”
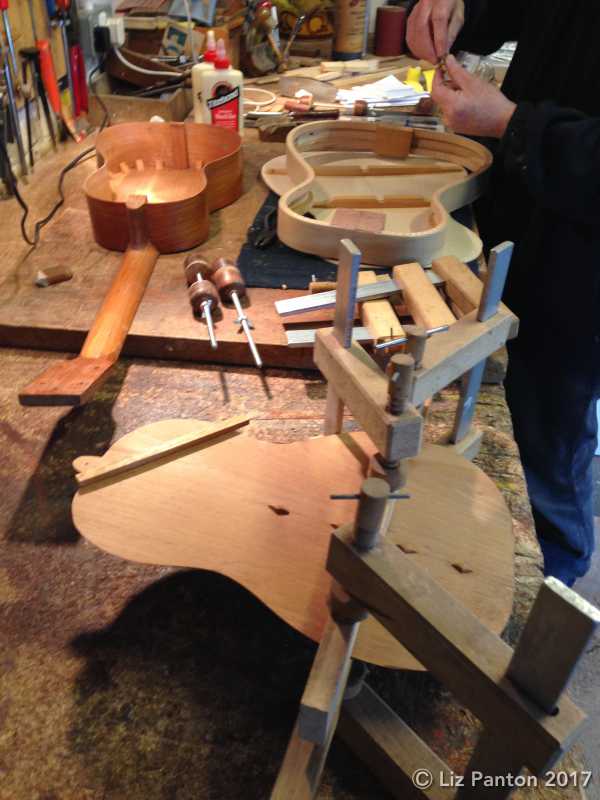

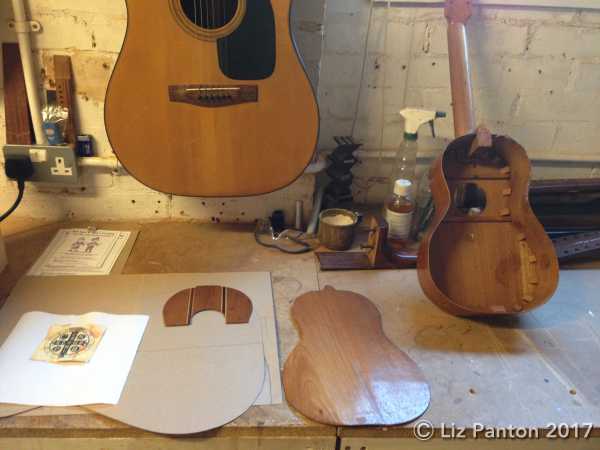
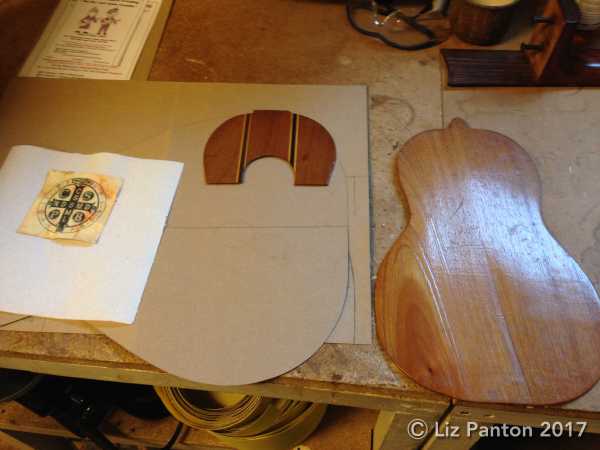
Plans for new kerf lining, bracing and side supports
If your wooden pegs go missing off your washing line . . .

And if you are wondering about how wonky the shape of that back is, and therefore the shape of the body, please check out the first article in this series:
Venezuelan Cuatro Rebuild by Kevin Parsons – Part 1
Video 2: Kerf lining, bracing and side supports
- Plans for new kerf lining, bracing and side supports explained.
- Kerf lining fixed, back bracing and top bracing explained.
Video 02 Transcript
KEVIN: The cuatro is made very simply
I’m going to make it a little more complicated than it was.
It will be stronger, better sounding instrument.
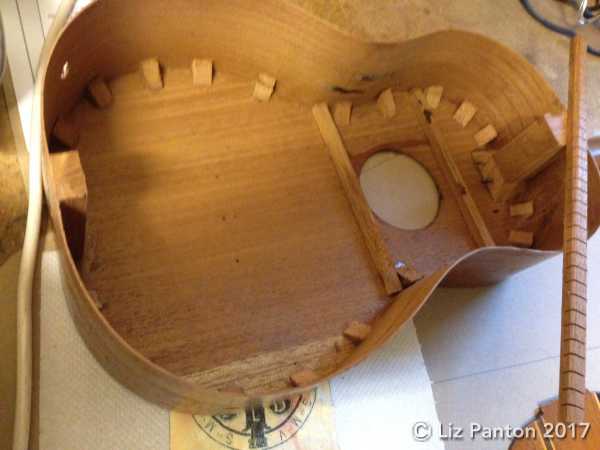
I’ve taken off the back edge, what we call “linings” . . .
which are these small support blocks
which give a glueing surface
between the back and the sides
and the top and the sides.
Originally it was these small blocks
I’m going to replace it with this, what they call “kerf lining”
which is more solid . . . joint
I’m going to bend this to the shape of the sides
and fit it around. When I’ve done that it will be strong enough
for me to take off the small blocks
and replace them
with a much more dense set of linings.
When I’ve done that, I will also take off these two braces
and put on a slightly more nicely shaped set
that will also have side supports coming up
to stop them from ever moving.
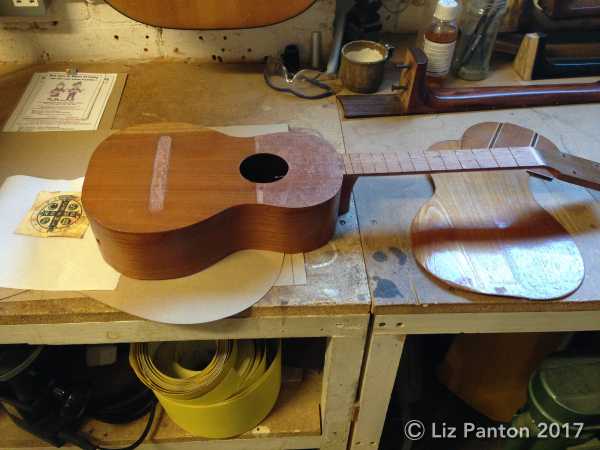
And then we will be ready for the back to go back on.
So that’s the lining that’s glued onto the back edge
(Unintelligible)
LIZ: After what?
KEVIN: As is being revealed!
[Turns off noisy humidifier!]
KEVIN: So that’s the linings on the back edge.
And that’s the back, with the big crack
glued up and reinforced
Two small braces glued on, which I’ll shape down
and scallop the ends off.
And these two braces will go into notches I cut in the linings.
And that goes back on.
And that will have made the back a lot stiffer than it was before
So that should improve the brilliance and the sustain.
So what happens next is . . .
LIZ: You stolen those clothes pegs off my line?
KEVIN: You can’t buy these clothes pegs any more.
You can just buy horrible, plastic ones.
They’re too weak.
No good for a guitar maker.
So what happens now is . . .
I will do work on the top.
I will take these little blocks off
and fit a more constant stream of blocks
to the top and the sides.
And when I’ve done that
I can get rid of these two braces
And I’ll fit these ones in. They’re not finished yet.
But they will fit into there . . .
and there.
And they will have little side braces
coming down onto the ends
to hold them in place and to strengthen the sides.
These back braces, similarly, when they go on
will have a brace coming up the sides
to meet onto the end of it.
When that’s done, these will become
three little fan braces,
which will cut short of that brace,
and sit there on the inside.
And that’ll be just about the insides finished.
And then we can go on to the other side after that
Background and context
Please see this page Kevin Parsons Makes and Mends and the first article in this series: Venezuelan Cuatro Rebuild by Kevin Parsons – Part 1
If you have any questions, please leave a comment
Life long learner - there is ALWAYS room for improvement!


Leave a comment